I think overall my castle went pretty ok considering I didnt know much of 3ds max. I knew a little because Ive done particle renderings using different renderers like Krakatoa (images on my blog). But since we started using 3DS Max I think Ive learnt a lot more about the program. I did kind of feel that we didnt know enough about how to do certain things while making are castle because It felt like it was a struggle and a pain at times to do just basic things. I found putting textures on are models particularly difficult at times because there seemed to be extra verts in places and textures would come out stretched, this was so, so, frustrating.
I think if we had more knowledge or practice with the techniques we had to use we would've been able to produce a much better castle, but, it is for most of us the first time we've used the program and I am happy with the end result. I think in future once we've learned a bit more we will be able to produce better quality models.
Things I would of done differently:
I think if I knew more about the program I would've tried to add a lot more detail into things like my towers, keep, and gatehouse. For example giving it little windows and small details. But then again I'm really pleased with what I achieved with my castle. I wouldn't of been able to do this 3 months ago.
I'm really happy with the way my castle turned out and I'm looking forward to the things we will be able to create in the future.
Thursday 20 December 2012
Screenshots

Here I'm using the UVW unwrap to find all of my sides which then I can apply a texture to.

Here is the image I used to create my mountains, which was doen in photoshop. The whiter parts are the higher the mountains will be.

Thursday 18 October 2012
Castle Ideas

I quite like both of these Ideas, but I think the one on the left is kind of boring in a way. It seems to symmetrical and all the same. Where as the one on the right I think is much more interesting to look at, It also has a lot more variation for kinds of towers I can use.


I quite like the style of this gate house. It has a kind of bulky feel too it, like its really powerful and strong in a way. It also seems quite deep, I think this is the kind of gate I would have to use on my second idea (above). I want the gate on that castle to be quite big and look really powerful and grand.
This is kind of style I'm thinking of for my main gate. I like this one because its bug and looks like it has several rooms in it and also looks like a main gate.

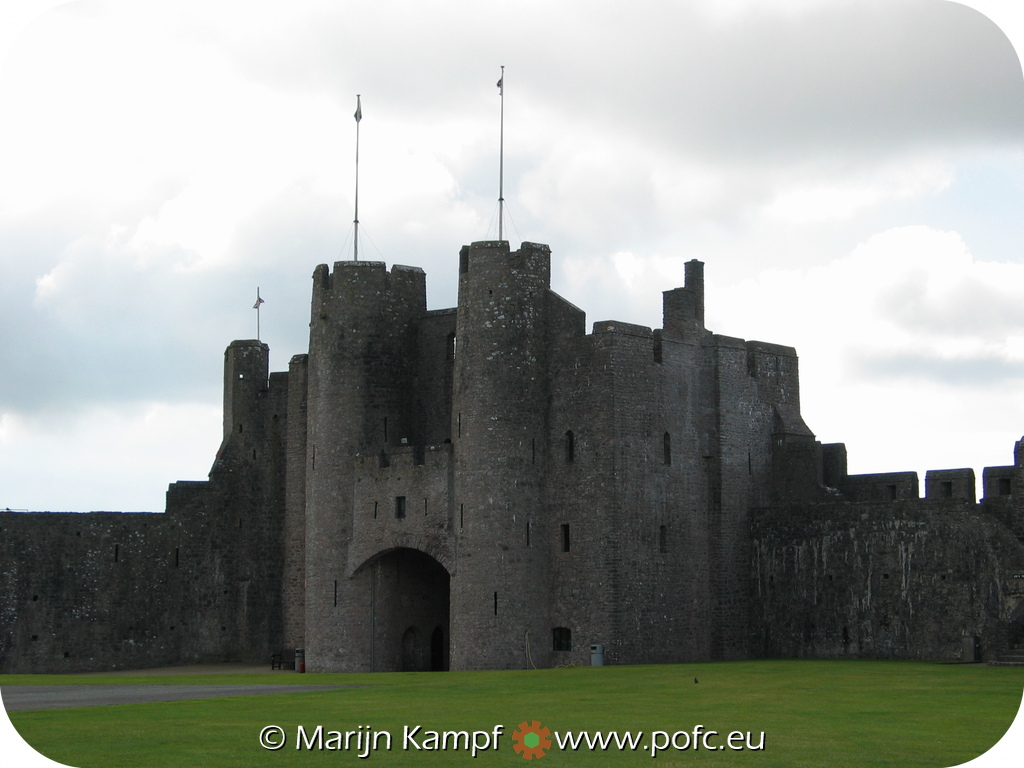
A lot of the norman style keeps I've seen all tend to look like this. Kind of square shaped with four towers. So I guess if I want to make a norman styled castle I will have to do something similar to this. I did notice with this image the steps on the right, I have never seen this before so this is I would have to adapt into my castle.
Also a lot of the norman castles i've looked at, seem to be really square in shape, they dont seem to have complicated designs. They also don't seem to have many walls inside. There castles just seem to consist of a main square keep like above and then an outer wall which just surrounds that but again is kind of square and boring in a way.
Saturday 6 October 2012
Fume fx and Krakatoa
Tutorial Link
http://www.youtube.com/watch?v=16oq5-yin9U&list=FLllkov6ahM4hpNkoUa38qxw&index=345


Thursday 4 October 2012
Castle Research
Bartisan
.png)
A Bartisan is a overhanging, wall mounted turret. Most frequently found on corners, they protected a warder and enabled him to see around him.
Moat

a moat is a deep trench, it can either be dry and filled with water and surround a castle, building, or town. Historically a sewage passage for castle waste. In some places moats evolved into more extensive water defences, including man made or natural lakes.
Stockade

A stockade is an enclosure of palisades and tall walls made of logs placed side by side vertically with the tops sharped to provide security.
parapet walk

A parapet is a wall like barrier at the edge of a roof, terrace, balcony or other structure. Where extending above a roof, it may simply be the portion of an exterior wall that continues above the line of the roof surface, or may be a continuation of a vertical feature beneath the rood such as a fire wall or party wall.
Postern

A postern is a secondary door or gate, particularly in a fortification such as a city wall or castle curtain wall. Posterns were often located in a concealed location, allowing the occupants to come and go inconspicuously.
Brattice
Small box or machicolation projecting from the wall to
reinforce its defense.
Battlement

Wall allowing defenders of the fortification to fire from a
protected position.
chapel

Place of worship.
keep

Castle’s main tower, serving as a final stronghold in the
event of attack.
pinnacle
.jpg/250px-PPkerk(05).jpg)
Steeple-shaped ornament atop the keep.
footbridge
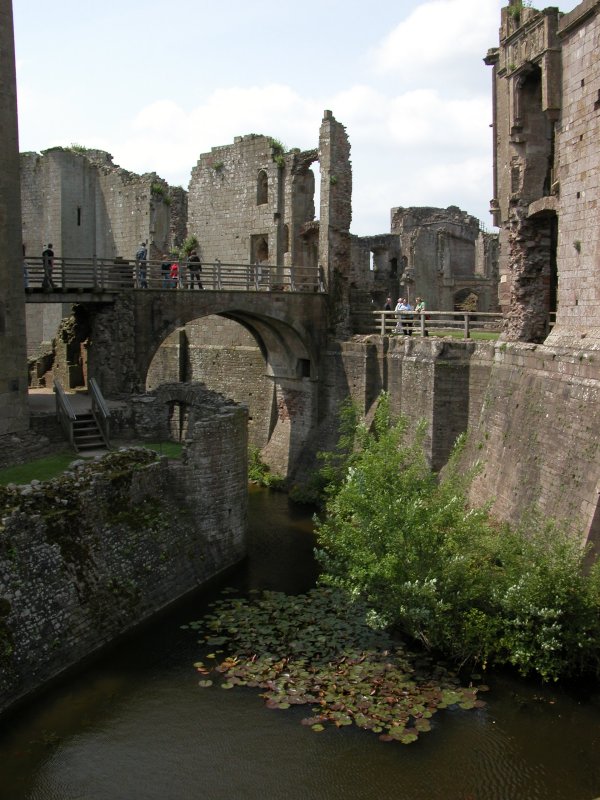
Narrow bridge used to cross the moat and reach the
drawbridge.
barbican

Freestanding defense with arrow slits used to defend the
castle’s footbridge.
rampart

Thick wall that formed the castle’s outer defense.
drawbridge

Movable bridge that was lowered to allow people to cross the
moat and raised to prevent access to the castle.
machicolation

Balcony made of masonry with apertures in the floor through
which projectiles were dropped on assailants.
guardhouse

Structure serving as living quarters for the guards.
corbel
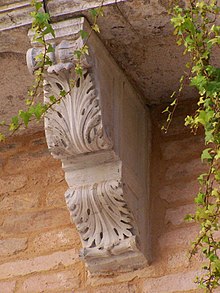
Stone projection on a wall to support the top of a tower or
wall.
curtain wall

Stone wall connecting two towers or bastions.
bailey

Uncovered space bordered by the castle’s buildings and
curtain walls.

Covered corridor constructed along a battlement and designed
to allow the free movement of guards.
flanking tower

Defense tower making it possible to fire a shot parallel to
the curtain wall.
turret

Small watchtower.
castle
Apartments of the lord and his family.
corner tower
Friday 14 September 2012
Experimentation


Here we a making a tileable texture to use on are models.


Subscribe to:
Posts (Atom)